Becoming a Certified Cicerone: Part Three
In part three of this series, I talk about what is probably the most fun test prep ever: tastings.
I passed the written exam the first time I took it, but I had to take the tasting portion three times to get a passing score. The first time I had no business taking the tasting exam. I was not prepared, although I thought I was. I drank beer all the time, so I could easily distinguish off flavors and similar beer styles, right? Wrong. I almost passed the tasting exam the second time and did markedly better. However, I still wasn’t quite ready the second time. I received my exam results and immediately registered to retake the tasting portion of the exam, which was only two weeks away. I probably should have saved myself the $100 retake fee as well as the money I lost by missing a day of work and registered to take a tasting exam a little bit farther out so I had more time to study. However, in the interim between the second and third time I took the tasting exam, I started studying for the BJCP exam, which was immensely helpful when it came to the Cicerone. It bears repeating: study for both test concurrently, even if you’re not planning to take both around the same time.
Tastings proved to be a fun but incredibly frustrating experience. It turned out that I knew a lot about how American craft beer tasted, but all the IPA Untappd check-ins were not helpful when it came to learning the difference between ales and lagers or being able to taste the difference between a Dry Irish Stout and a Schwarzbier. Luckily I have a husband who is also interested in studying beer styles, so I already had someone to help me out. If you don’t have someone who is interested in learning along with you or at least assisting you with testing, reach out to a local homebrew club to see if any of their members are studying for the BJCP and/or if they would be willing to help out. You can also utilize the Cicerone Certification Program on social media to see if they can assist you in finding a study buddy.
We conducted tastings in a few different ways. The first type of tastings we did were blind tastings for one of us, which is to say we would go to a bottle shop, grocery store, or retailer like Total Wine and each make a mixed six pack. The rules were pretty simple: we didn’t look at what the other person was choosing and we could organize the beers any way we wanted.
Not seeing what the other person was choosing could be a little difficult, but not too difficult. We would be generally aware of where the other person was – at Total Wine, for instance, if Tom was in the European beer section, I would wait until he was finished before going to that section. We would usually check out separately and at different times so we weren’t inadvertently privy to the other person’s beers when the sales associate was ringing us up.
Choosing the beer styles was a lot of fun and could sometimes be overwhelming. Sometimes I would know what types of beers I was going to get, such as a pale ale/IPA lineup that included English and American pale ales and IPAs as well as a Belgian pale ale and IPA. Other times I would make a six pack of pairs of similar beers, like an Altbier and California Common; an amber ale and a red ale; and Doppelbock and Wee Heavy. My goal was to have a distinct theme and goal for the tasting – while each tasting involved learning to distinguish styles from one another, my goal was to really be able to hone in on the differences. Pretty much anyone can tell you the difference between a Light American Adjunct Lager (aka Bud Light) and a Dry Irish Stout (aka Guinness), but it takes skill to distinguish between an American Blonde Ale and a Cream Ale. As much as possible, we would try to get the classic commercial examples of beer styles, which you can find listed in the BJCP Guidelines. A word of warning: as great as American craft beer is, I would buy the commercial examples listed in the BJCP Guidelines rather than buying an American craft version of a style because there is a high likelihood that an American craft beer that purports to be a style like an ESB is probably not going to be the best way to train your palate and brain to recognize the classic beer style.
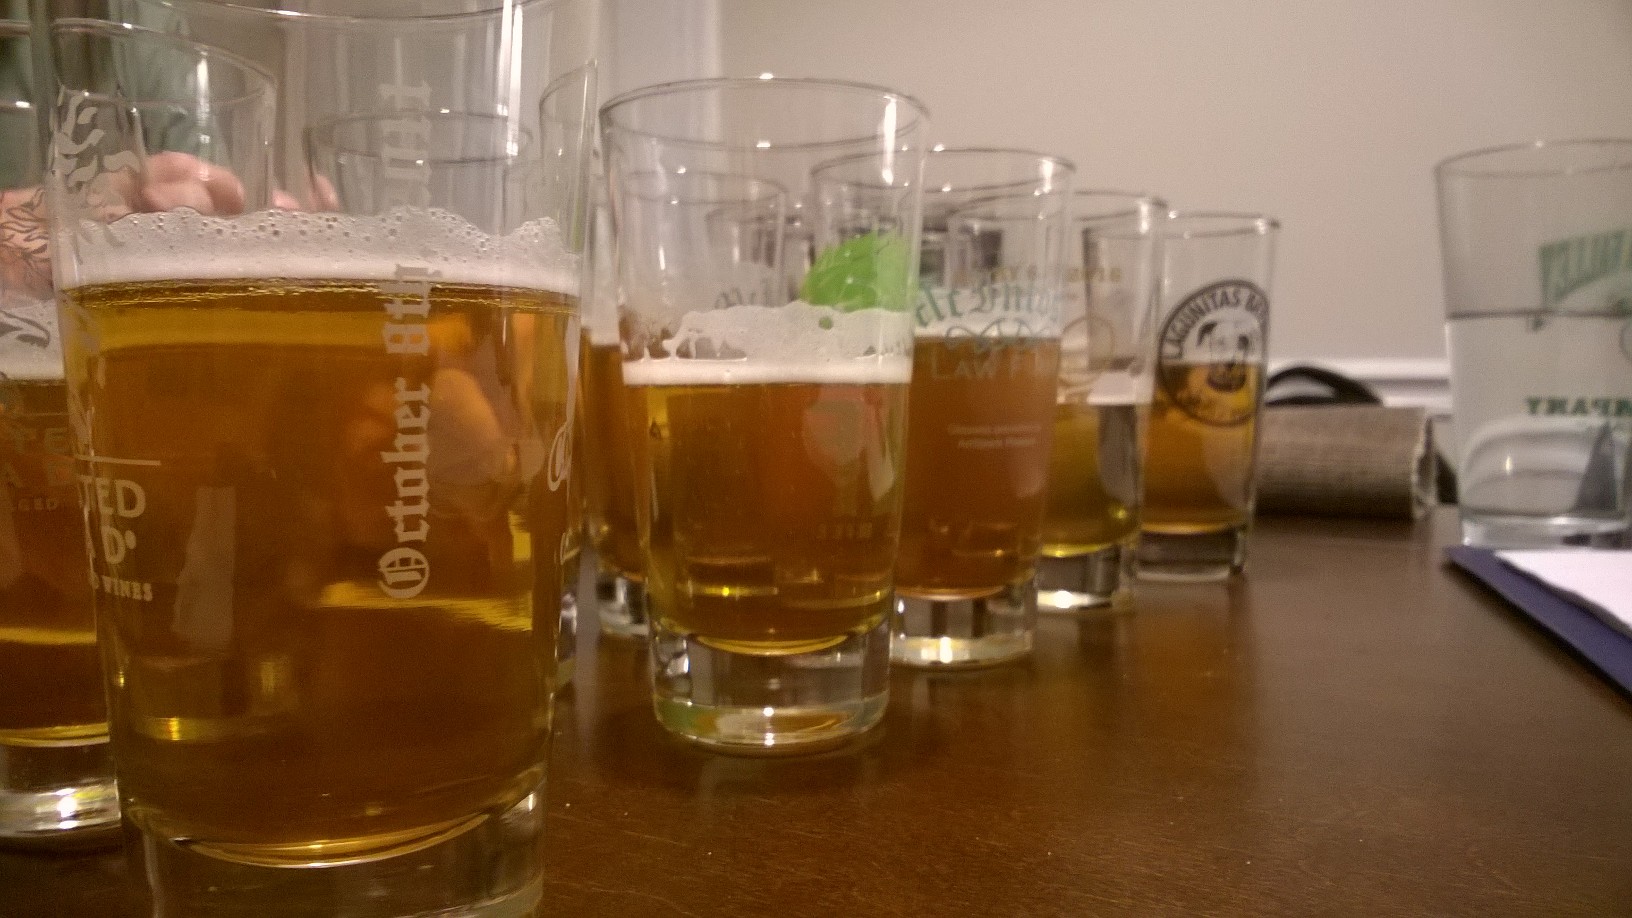
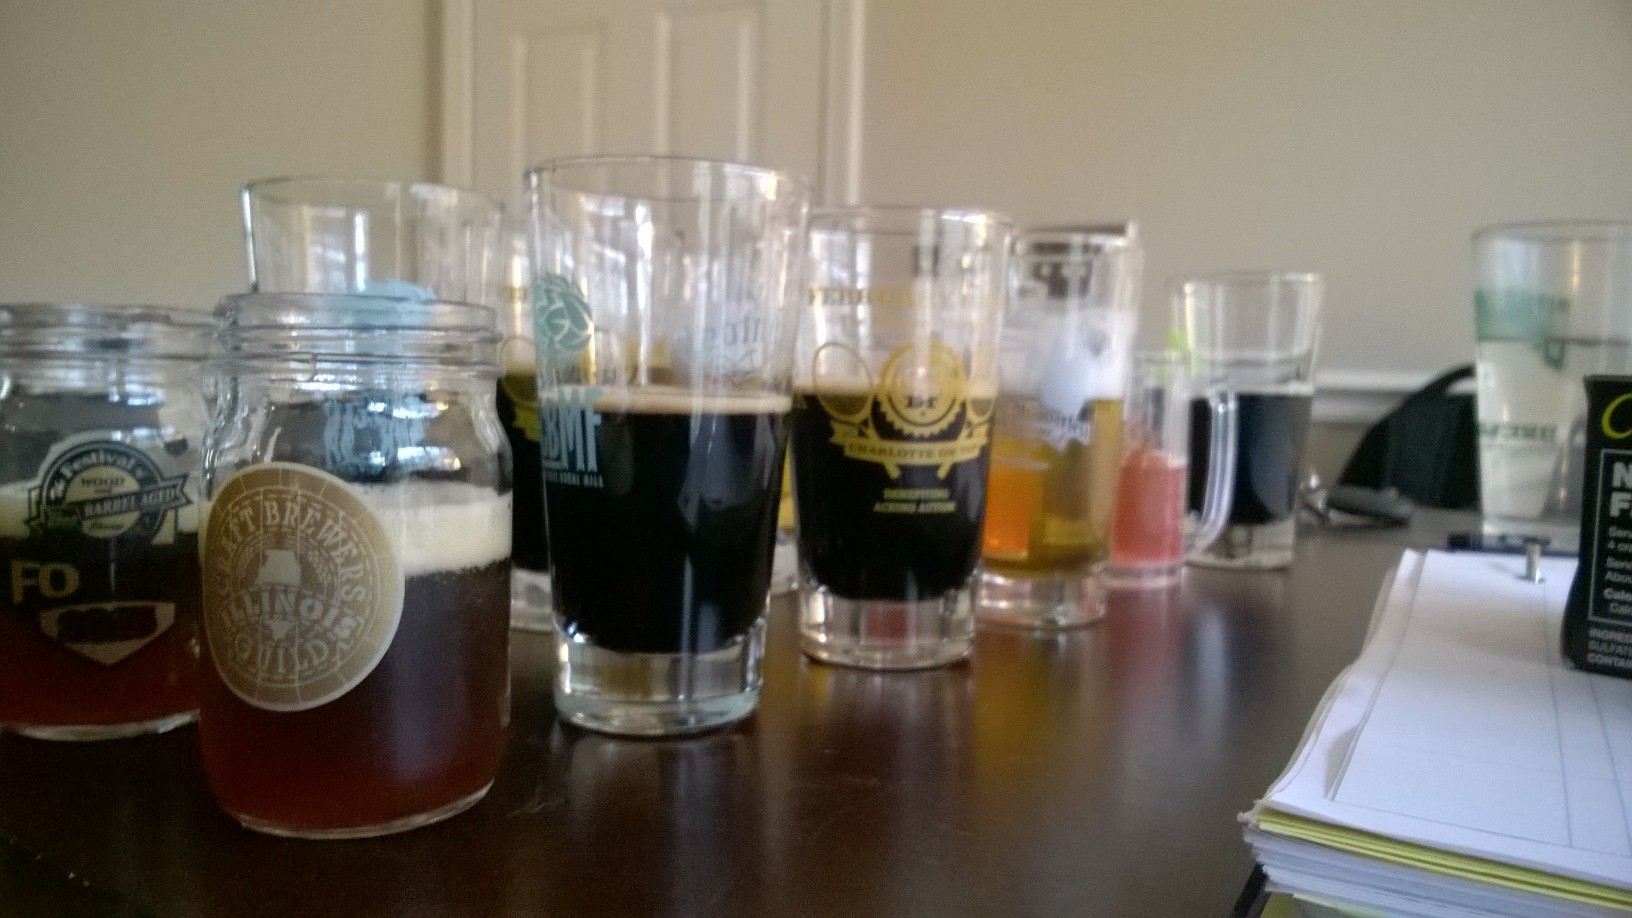
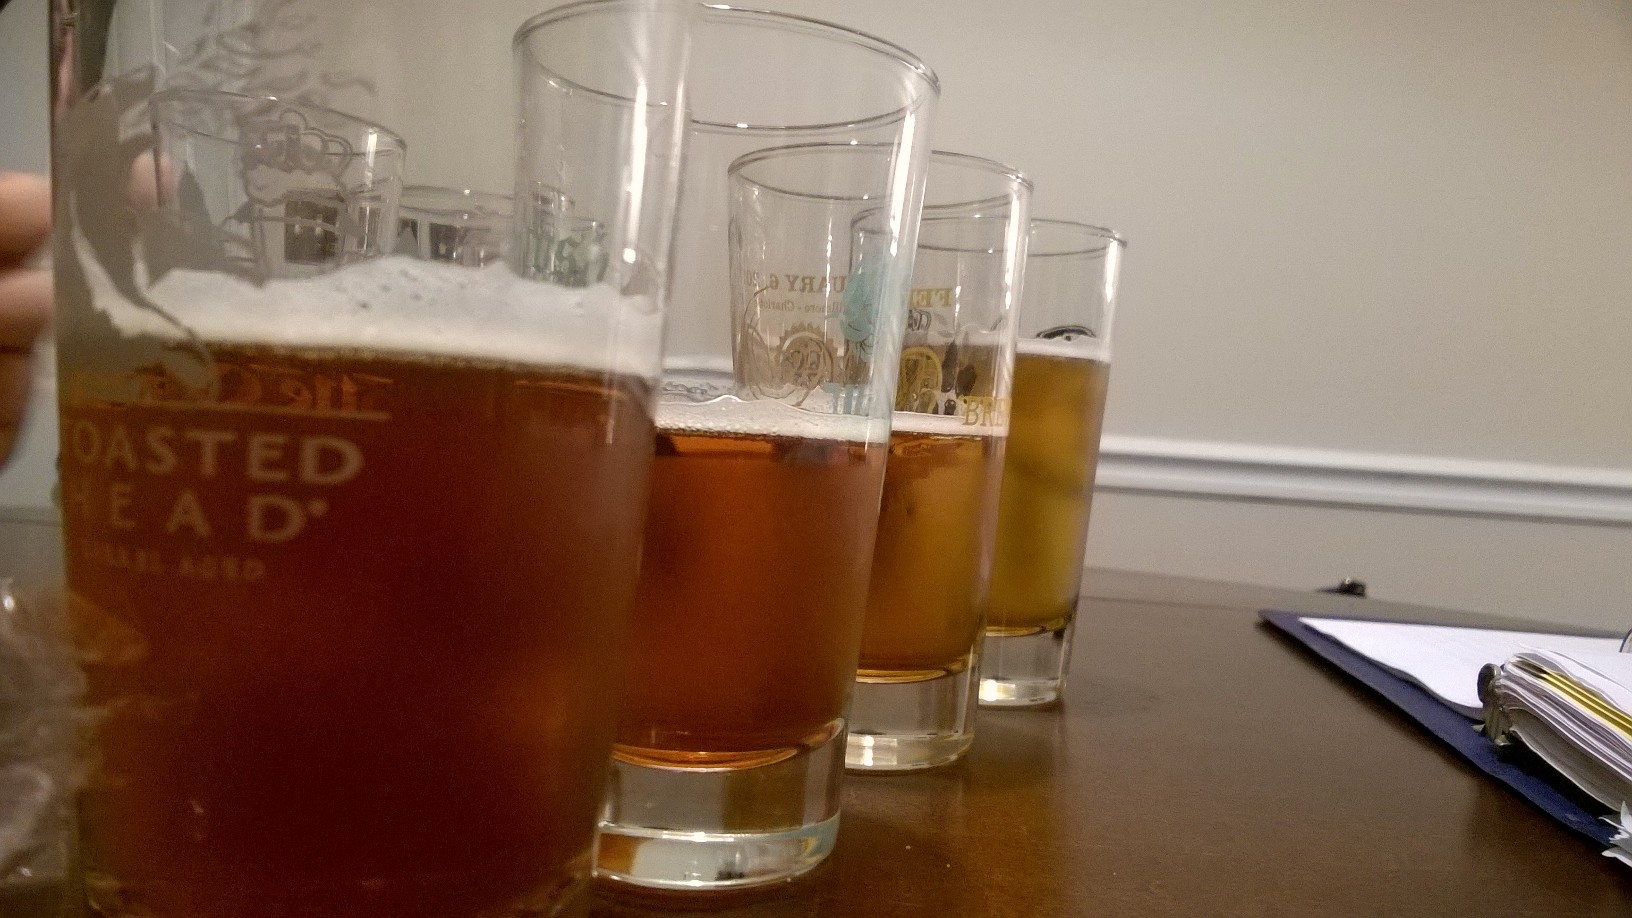
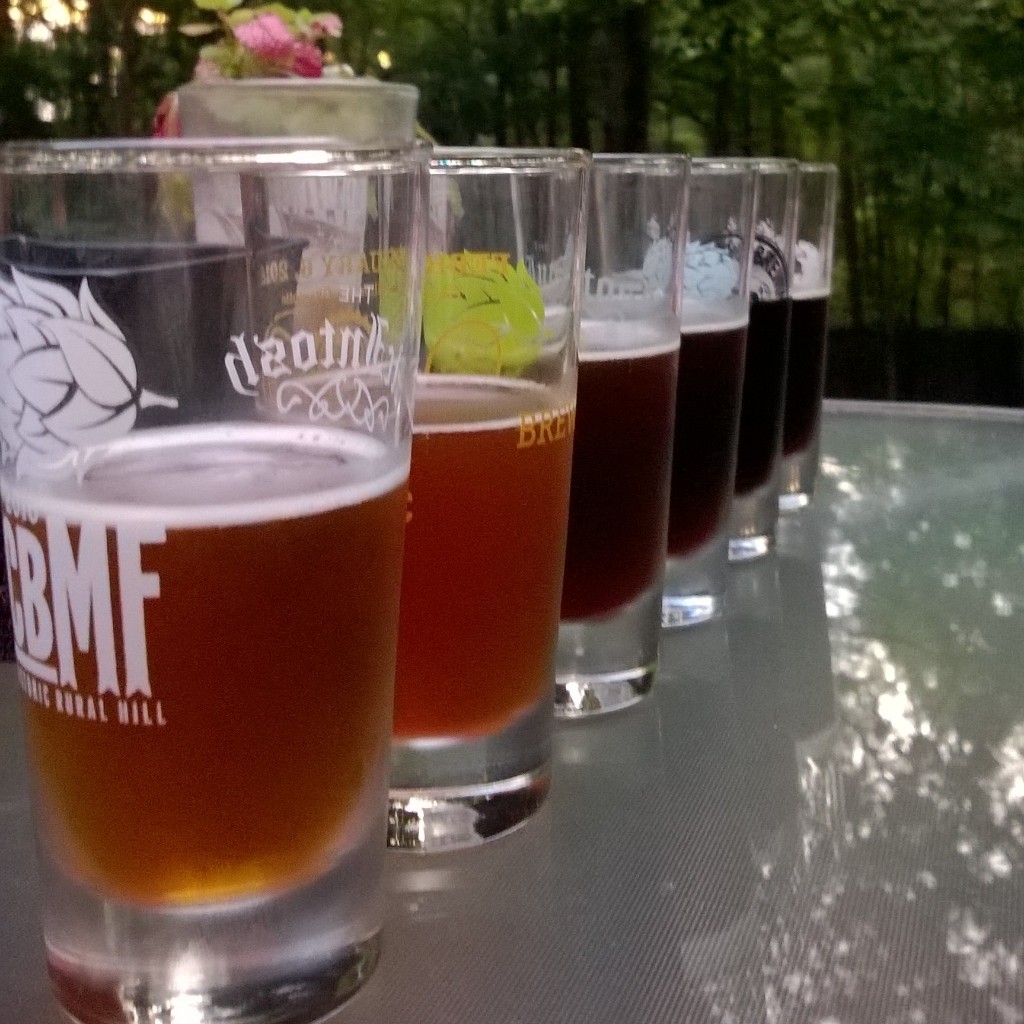
Once we had our beers chosen, the person whose “turn” it was would get the beers ready by pouring small (roughly 4 oz.) samples into small tasting glasses, keeping track of what beer went in what sample glass. The other person stayed out of the room so as not to see the beer choices. Then the tester would line up the beer samples in whatever way he or she chose, usually lightest to darkest or low ABV to high ABV, but not always. There were a few items we had at every tasting: water crackers or Saltine-type crackers to act as palate cleansers; glasses of water; notebook paper; and pens. We would conduct the tasting (you can find detailed tasting instructions here) and take notes as we went, usually starting with appearance, aroma, and then flavor and mouthfeel. We don’t usually discuss our perceptions so we don’t influence the other person’s perception of the beer. We drink water and cleanse our palates as needed between the beers. Once we have tasted all the beers, the person who is blind tasting says what he or she thinks the beer styles are. We can usually hone in on the general styles within the first couple samples so it’s rare that we’re completely off base.
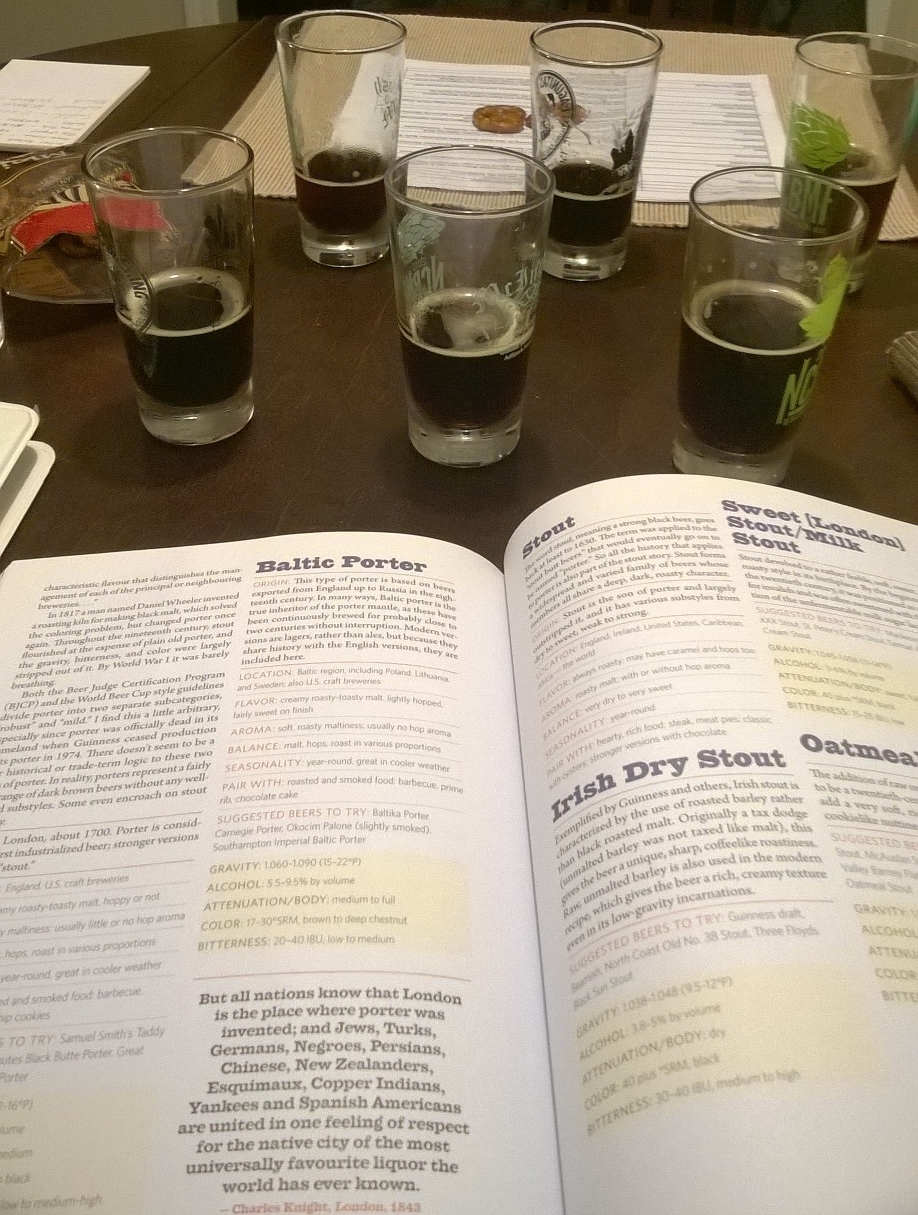
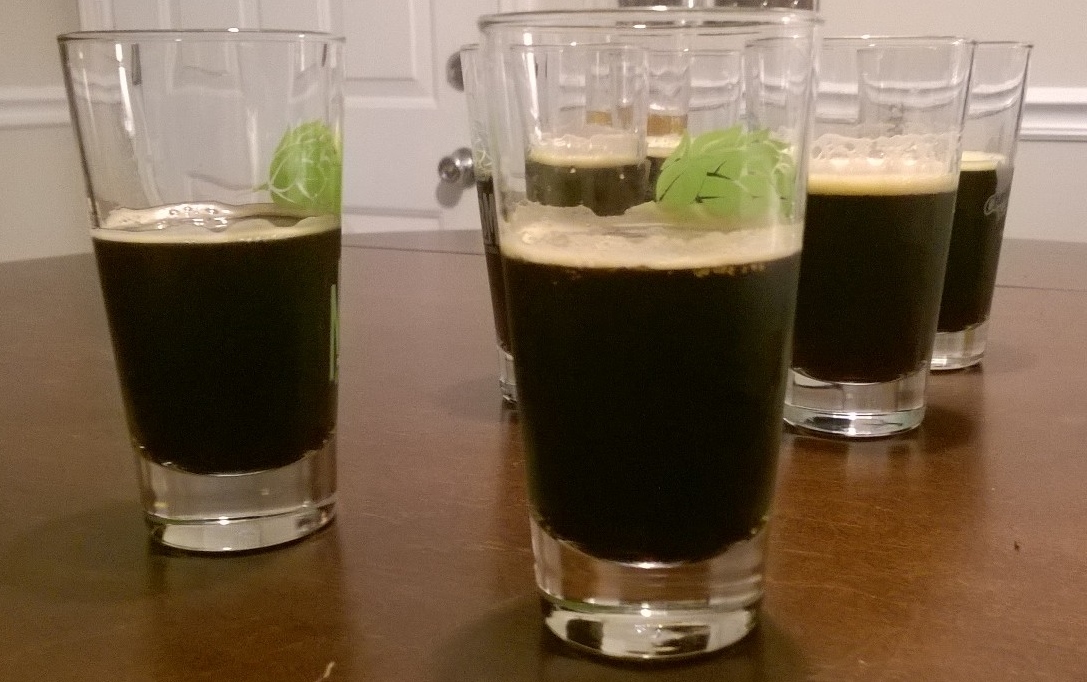
The other ways we conducted the tastings were basically variations of the one person knowing what the beers were and the other person blind tasting. If the beers were very similar styles or at least appeared similar, such as a Dry Irish Stout, a milk stout, an imperial stout, and an oatmeal stout, then we would do a sort of double blind tasting. The person who chose the beers would pour the samples into pint glasses and take note of what beers went into what pint glasses. Then the other person would pour the samples from the pint glasses into the tasting glasses and take note from which pint glasses the beers came and into which tasting glasses they went. That way, although one person technically knew what styles the beers were, neither person knew for sure what beer was in what glass.
The other way we would conduct tastings is by listing the beer styles or brands we were trying, but following the double blind-ish procedures. This method is helpful in narrowing the scope of the tasting because there are only a few beer styles and the task is sorting the beers into the correct beer styles rather than starting with almost every possible beer style and having to narrow it down. In the most recent tasting we did this way, I had chosen an ESB, an amber lager, an amber ale, a Scottish ale, a California Common, and a standard bitter. All of these beers are very similar in appearance and some of them similar enough in flavor that I wanted to make sure we had the parameters rather than mistakenly deciding a beer was a certain style and having to correct those neural pathways.
Be sure to take notes each time and to keep all your notes together somewhere. While each beer style and off flavor has common descriptions, it’s important to know what a beer tastes like to you and what those standard descriptors taste like to you. Keeping your notes ensures you can go back later and reference them as needed.
We typically went someplace like Total Wine to get our tasting beers because they have the largest selection of American and international beers available in individual bottles. Chances are we could find whatever beers we needed to make our groupings and if we didn’t, there was always another similar option. However, some of the most fun and educational tastings we did were when we had limited resources, like Frugal MacDougal’s or Harris Teeter, and had to make up groups based on what was available to us. Once we did an IPA tasting where we could really learn the difference between IPAs with classic bittering hops, citrus hops, piney hops, and super dank hops. Another time we did a tasting of classic lagers. When you try a Sam Adams Boston Lager next to other lagers, the perfume-y Noble hops like Saaz and Tettenang really jump out at you. So don’t think you always have to go somewhere with a huge selection – sometimes you get a much more valuable experience from having to organize a tasting out of a limited selection.
Overall, doing tastings are probably the most fun and educational way to study. As I mentioned, at first it was a very frustrating experience for me because I discovered I really didn’t have as expansive of a beer repertoire as I thought and often my answers were just discouraged and dejected guesses. I had read that the most important thing is to keep trying and tasting and your skills would develop, advice which I often doubted when I was completely wrong again about what I was tasting. Then one day I noticed that it had happened – I sniffed a sample and could confidently and definitively say it was a lager without even tasting it. It didn’t happen all at once or overnight but after that day I was a lot more confident in my skills. So don’t be frustrated if it’s not an easy process for you at the beginning, no matter how many Untappd check-ins you have or how much you know about your beer scene. Keep at it and keep tasting a variety of beers over and over again. If you find a style or style that gives you trouble, taste more of it and taste different brands of the style. Make those scent and flavor memories. Another bonus is that you may discover some new styles you really enjoy – I discovered that I really like German beers, especially lagers, and now order them frequently.
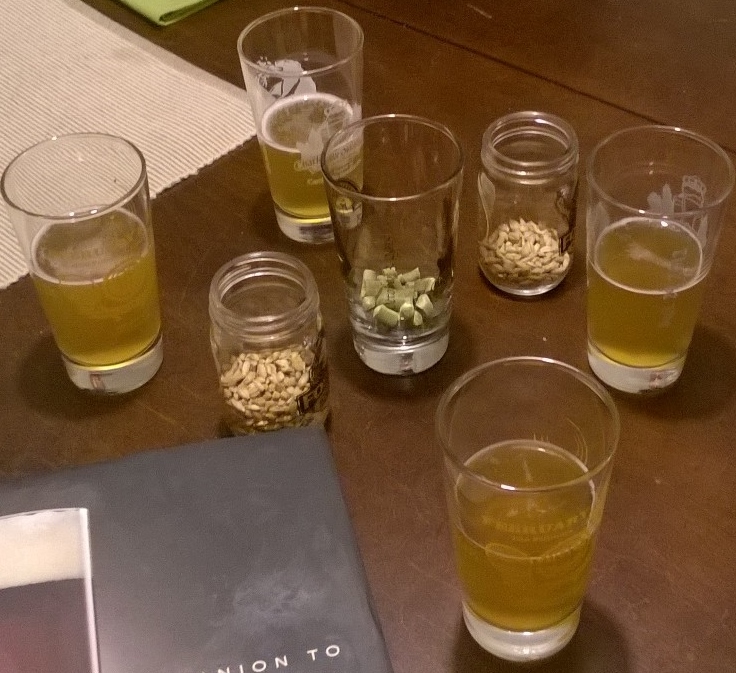
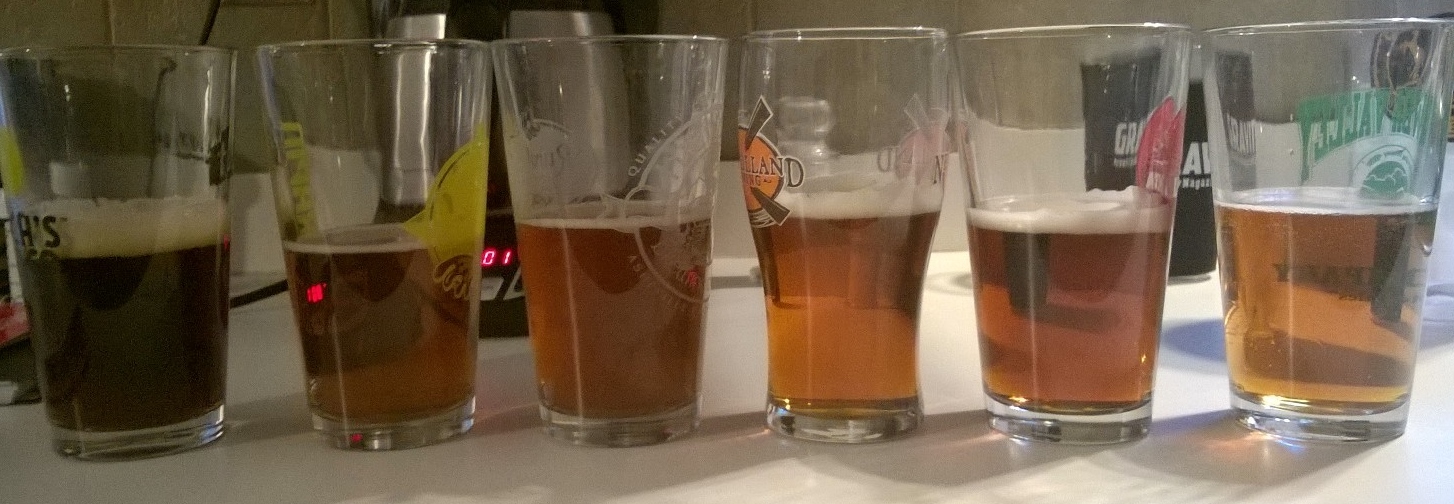
Just how many tastings did I do? Here are a few of them:
